STEP 1
Determine how much orthotic support the patient needs:
- Use the Keystone Device to measure Supination Resistance
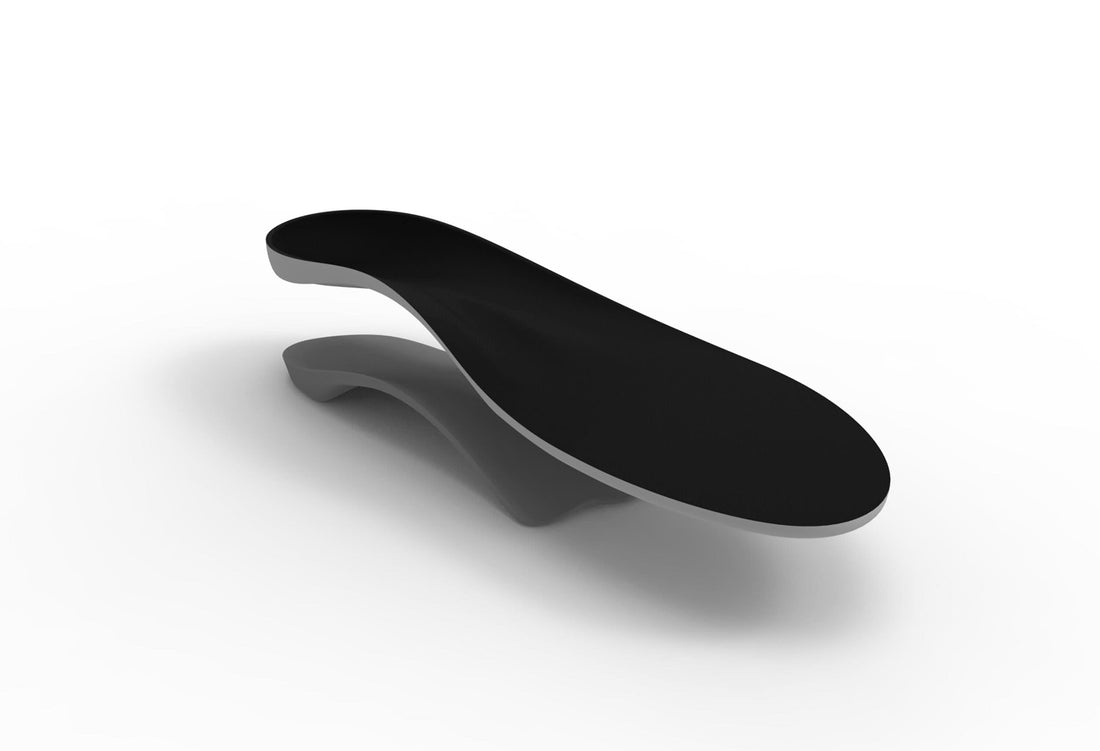
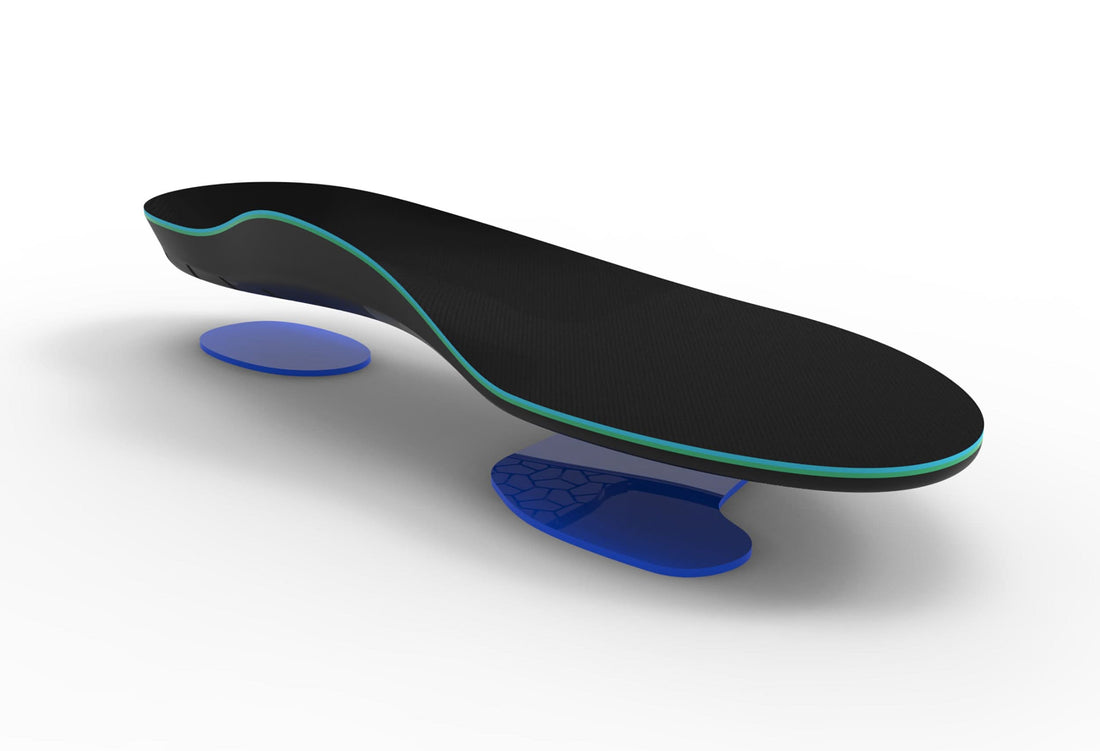
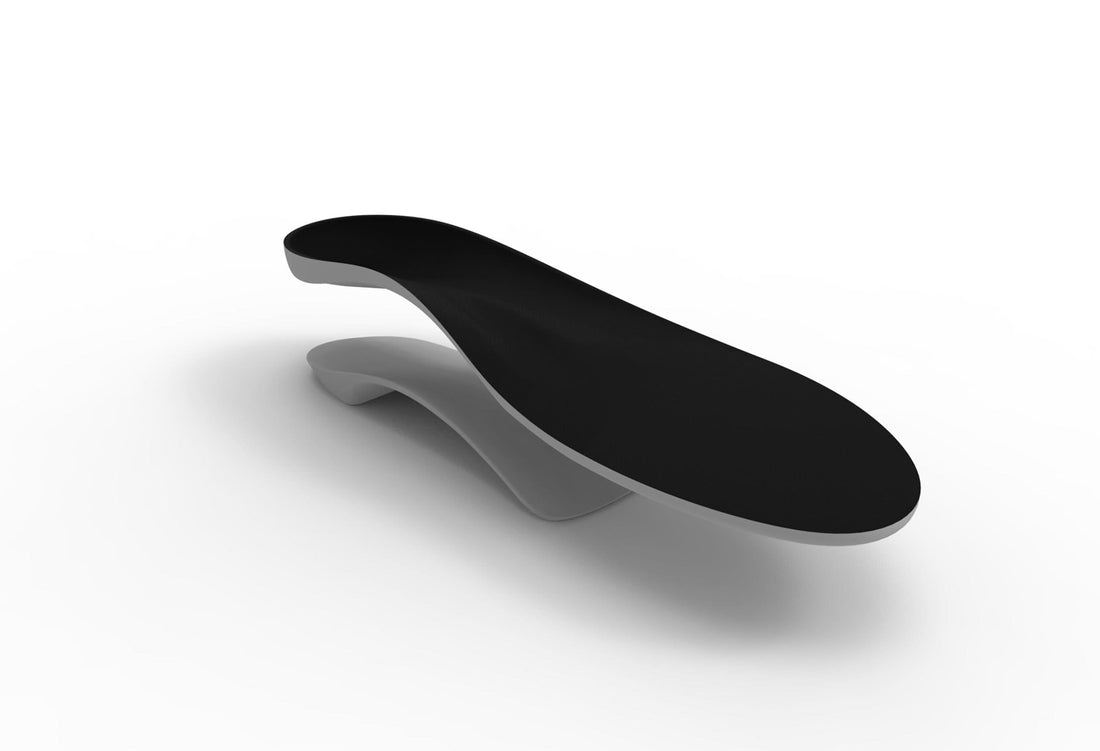
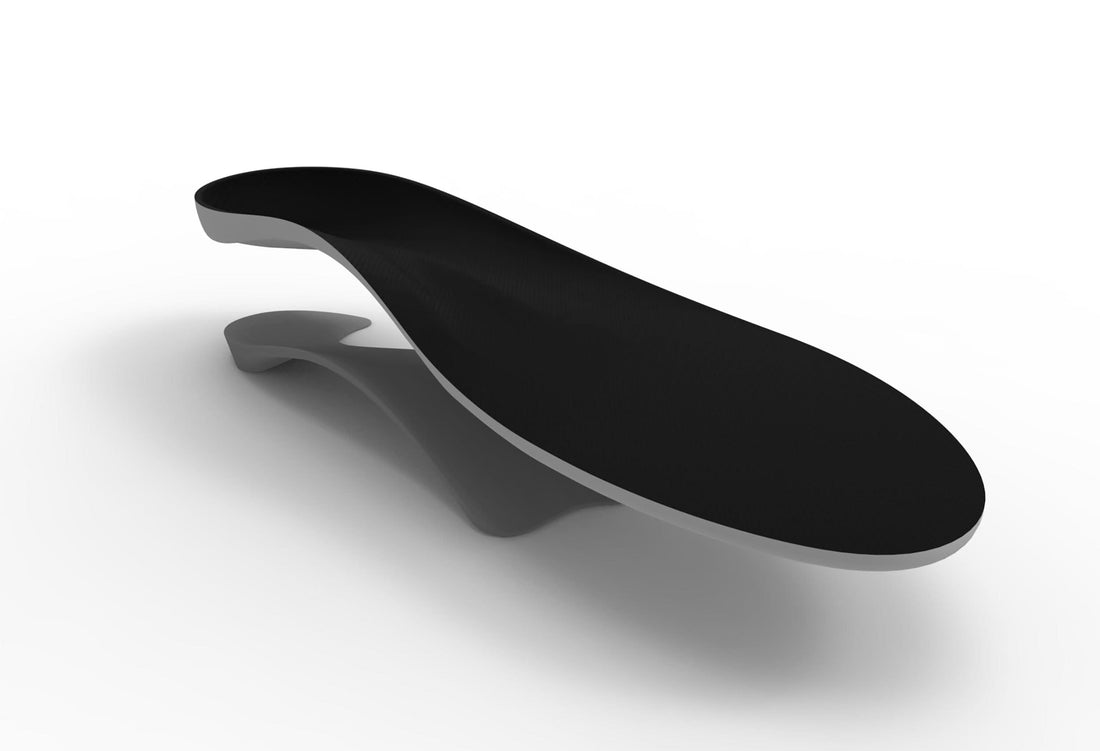
- Design features – such as rearfoot wedging, arch height and orthotic stiffness can be prescribed
STEP 2.
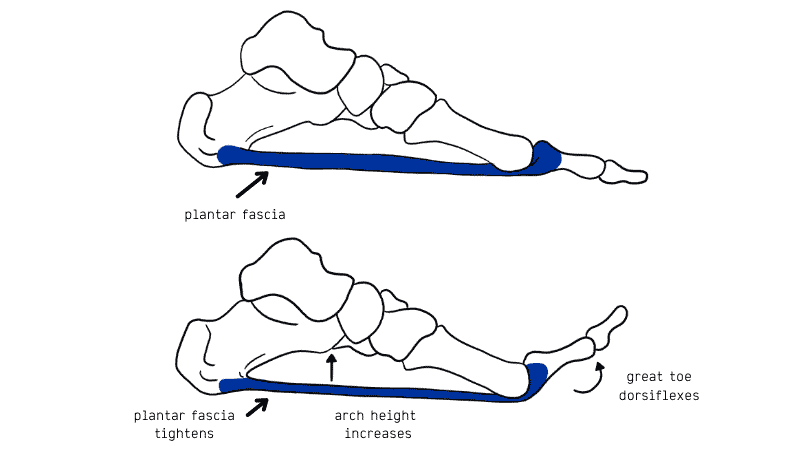
Check the Windlass Mechanism:
- Do Jack’s Test and check 1st Met and 1st Ray motion
- Design features – such as Lateral Pads, Plantar Fascial Groove, 1st Cut away, or Rearfoot Wedging can be prescribed
STEP 3.
Lunge Test:
- Patient stands against wall with about 10cm between feet and wall.
- They move one foot back a foot’s distance behind the other.
- They bend the front knee until it touches the wall (keeping the heel on ground).
- If knee can not touch wall without heel coming off ground, move foot closer to wall then repeat.
- If knee can touch wall without heel coming off ground, move foot further away from wall then repeat.
- Keep repeating step 5 until can just touch knee to wall and heel stays on ground.
- Measure either: a) Distance between wall and big toe (<9-10cm is considered restricted) or b) The angle made by anterior tibia/shin to vertical (<35-38 degrees is considered restricted)
STEP 4.
Assess Footwear:
- Sometimes the patient must be advised to wear a more supportive shoe to accommodate the orthotic.
- If the patient is unwilling to compromise a slimmer orthotic may be needed


